
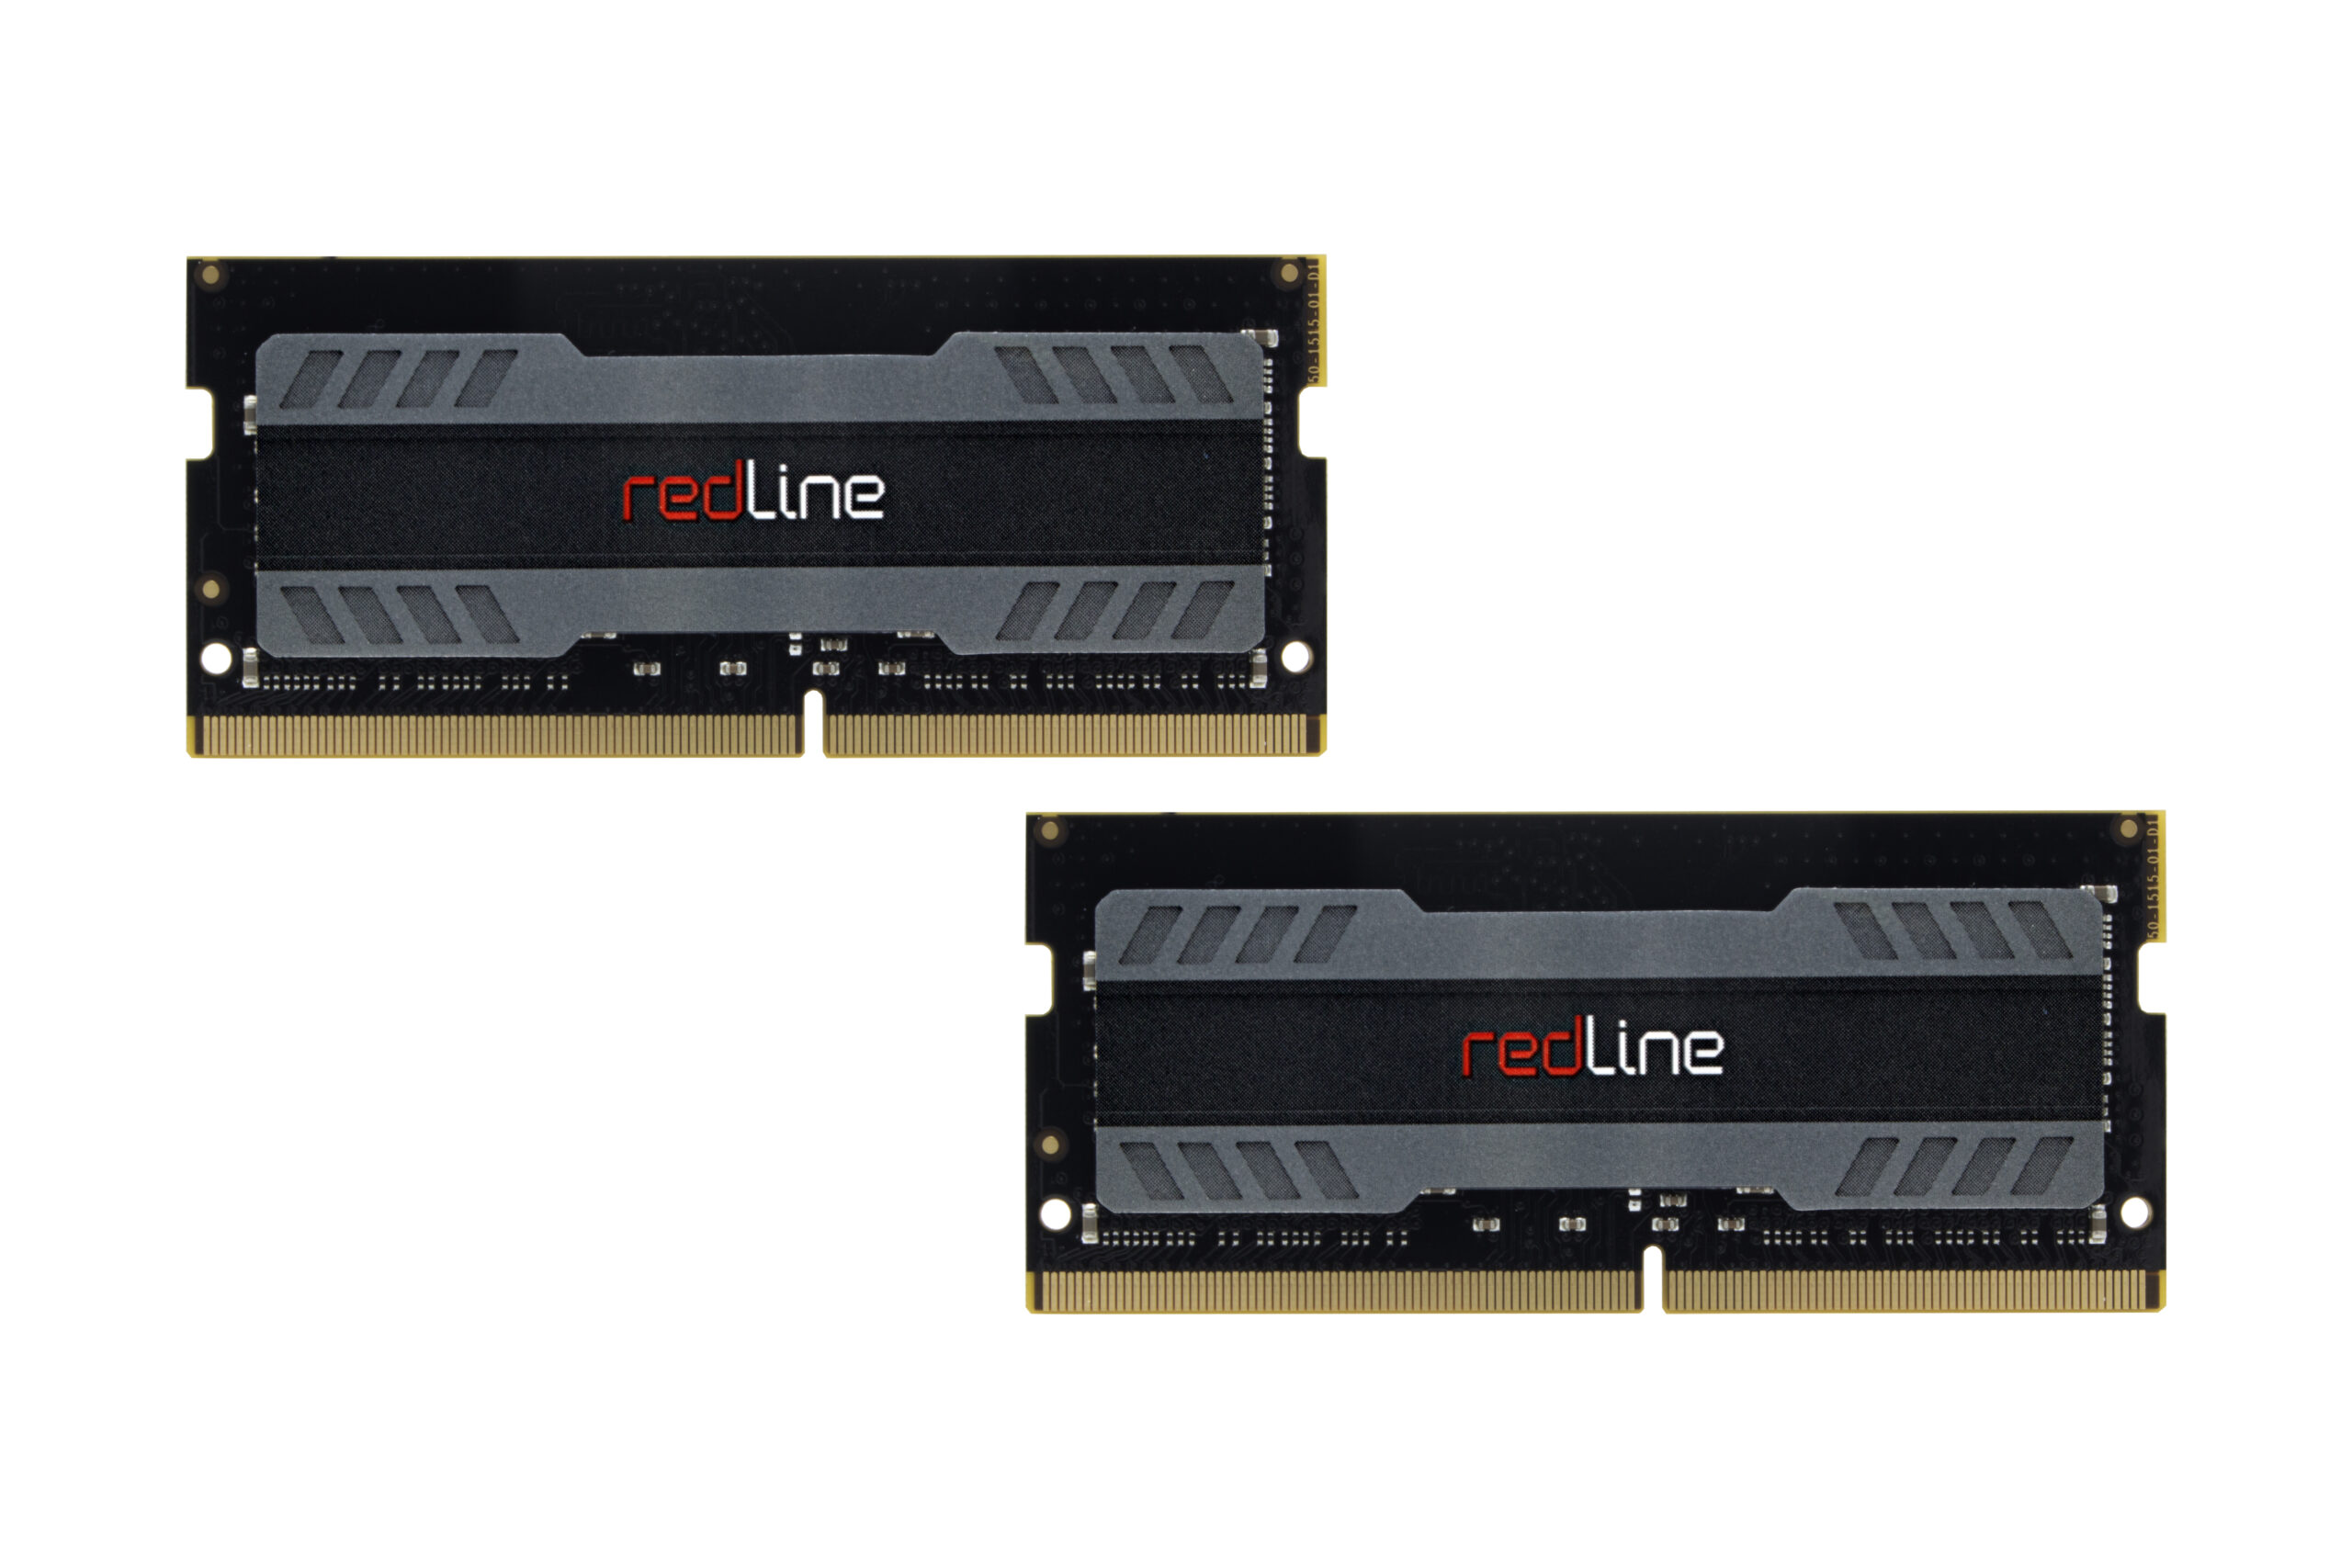
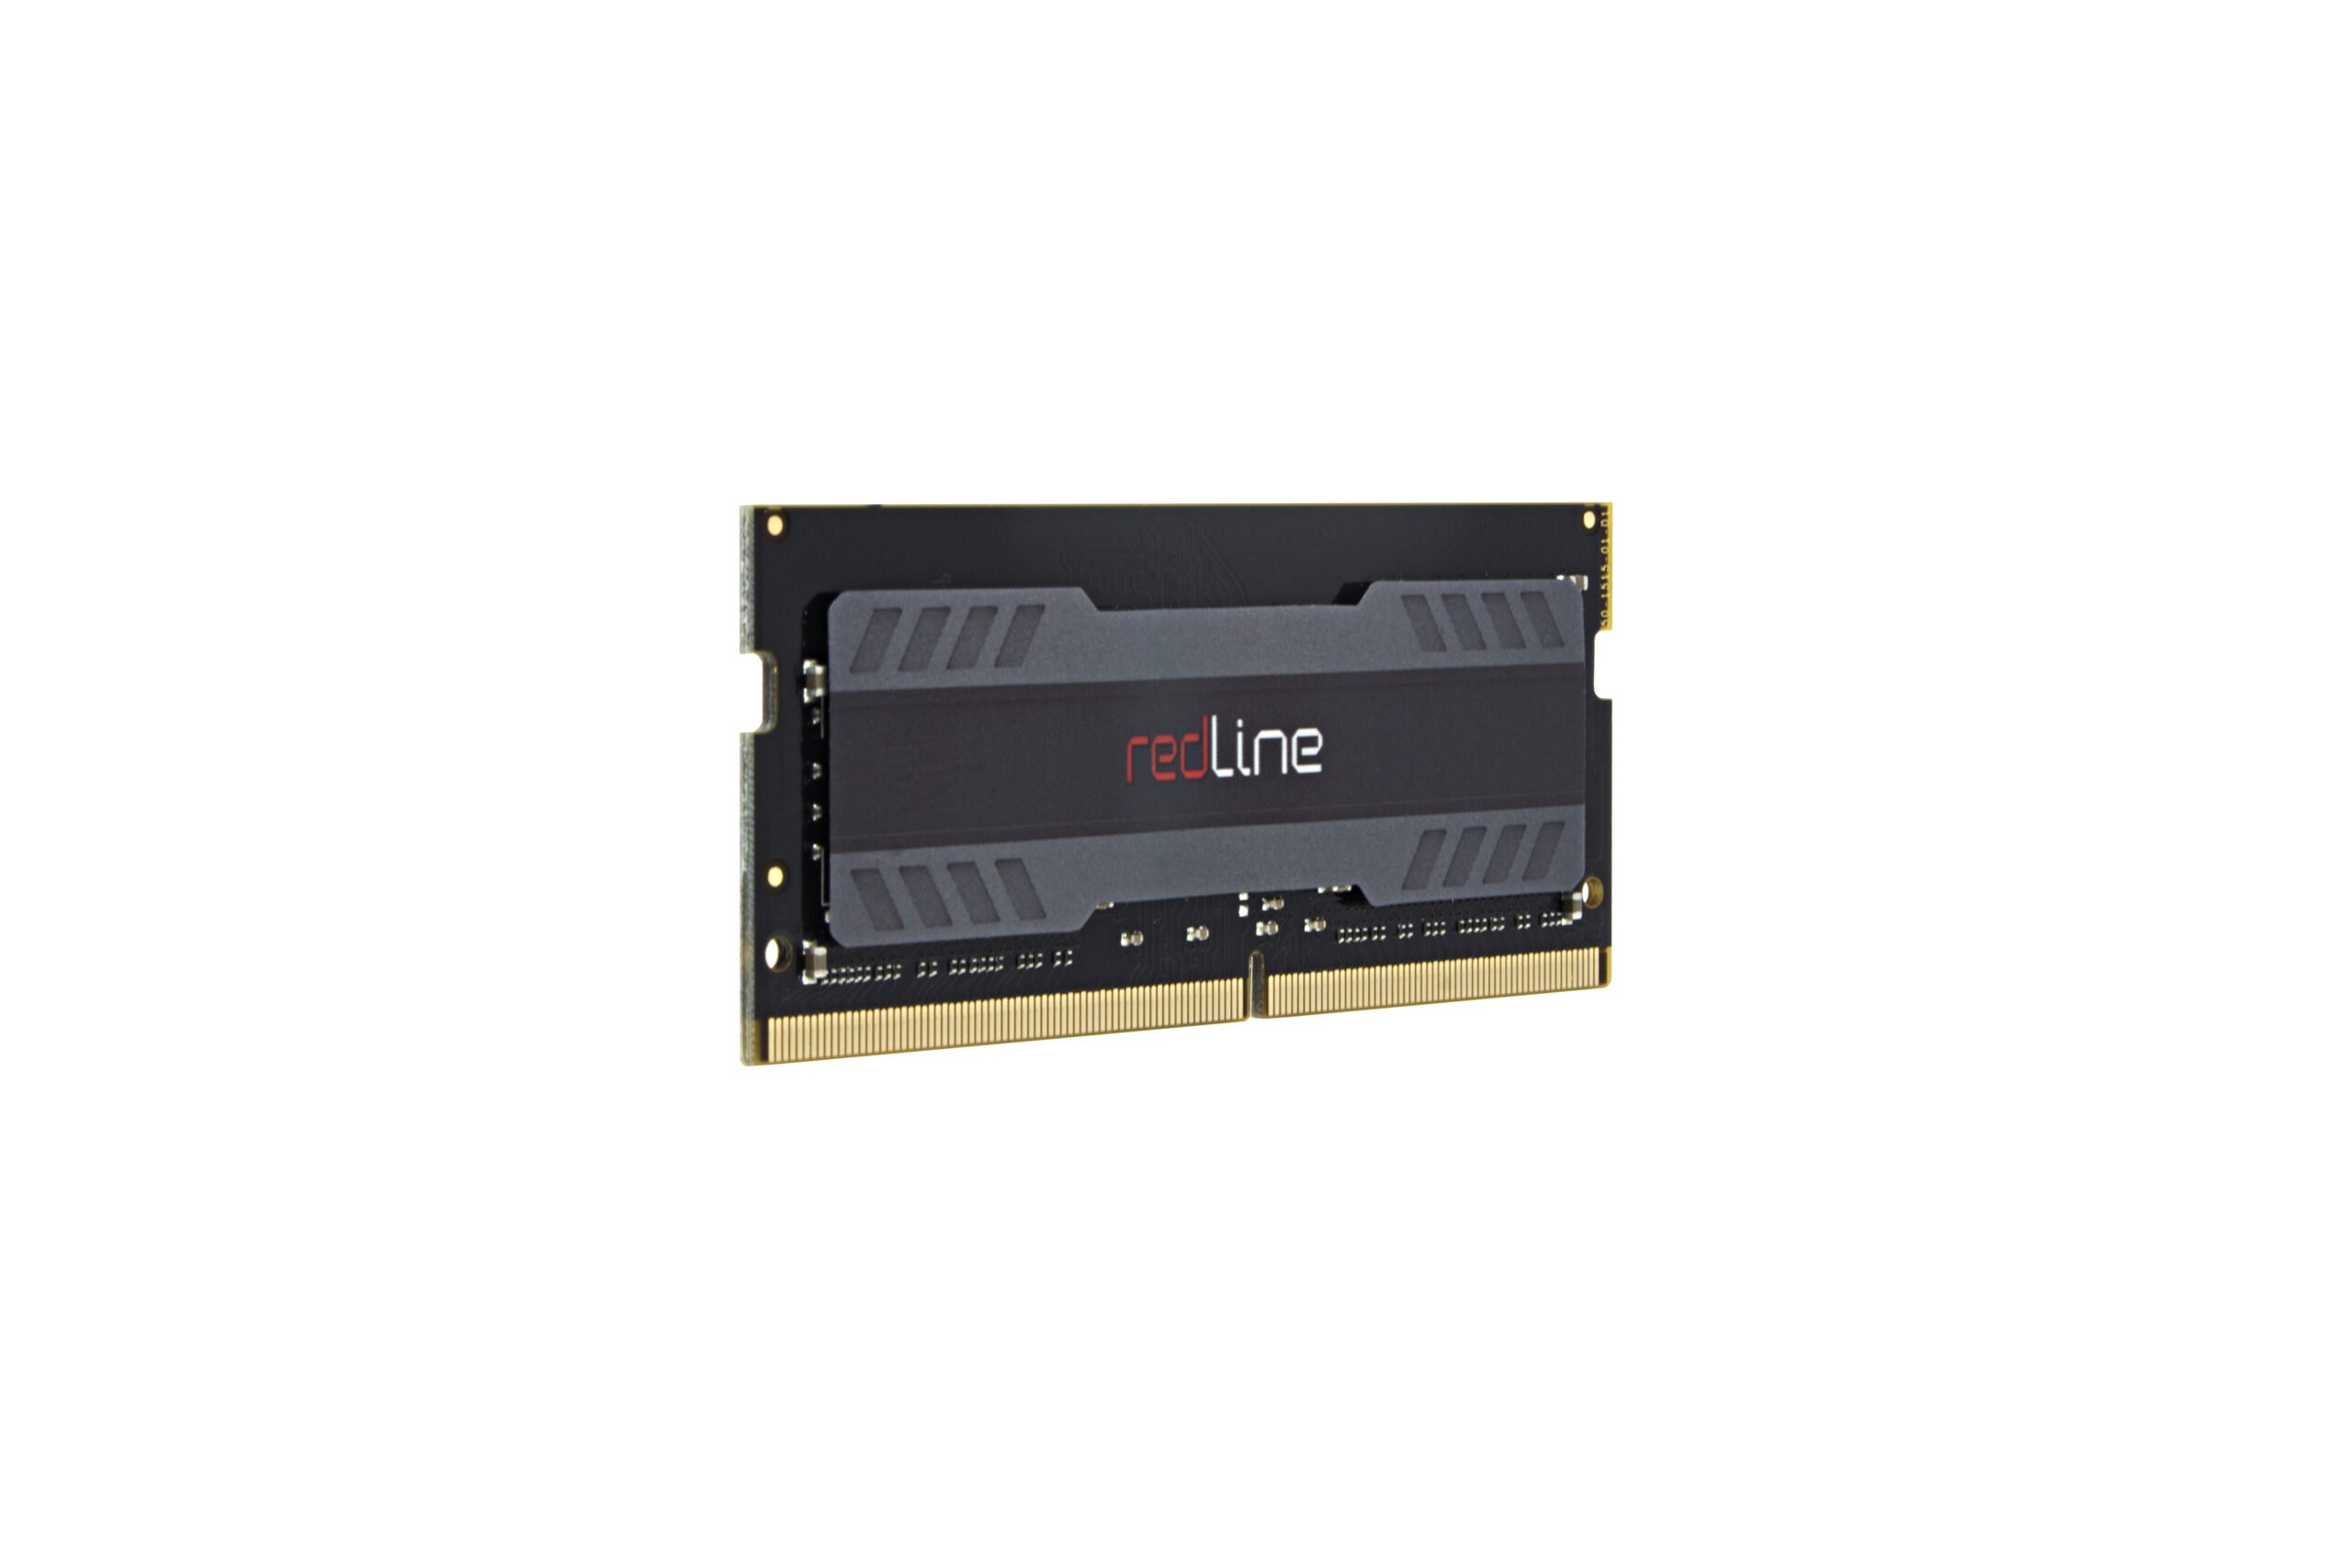
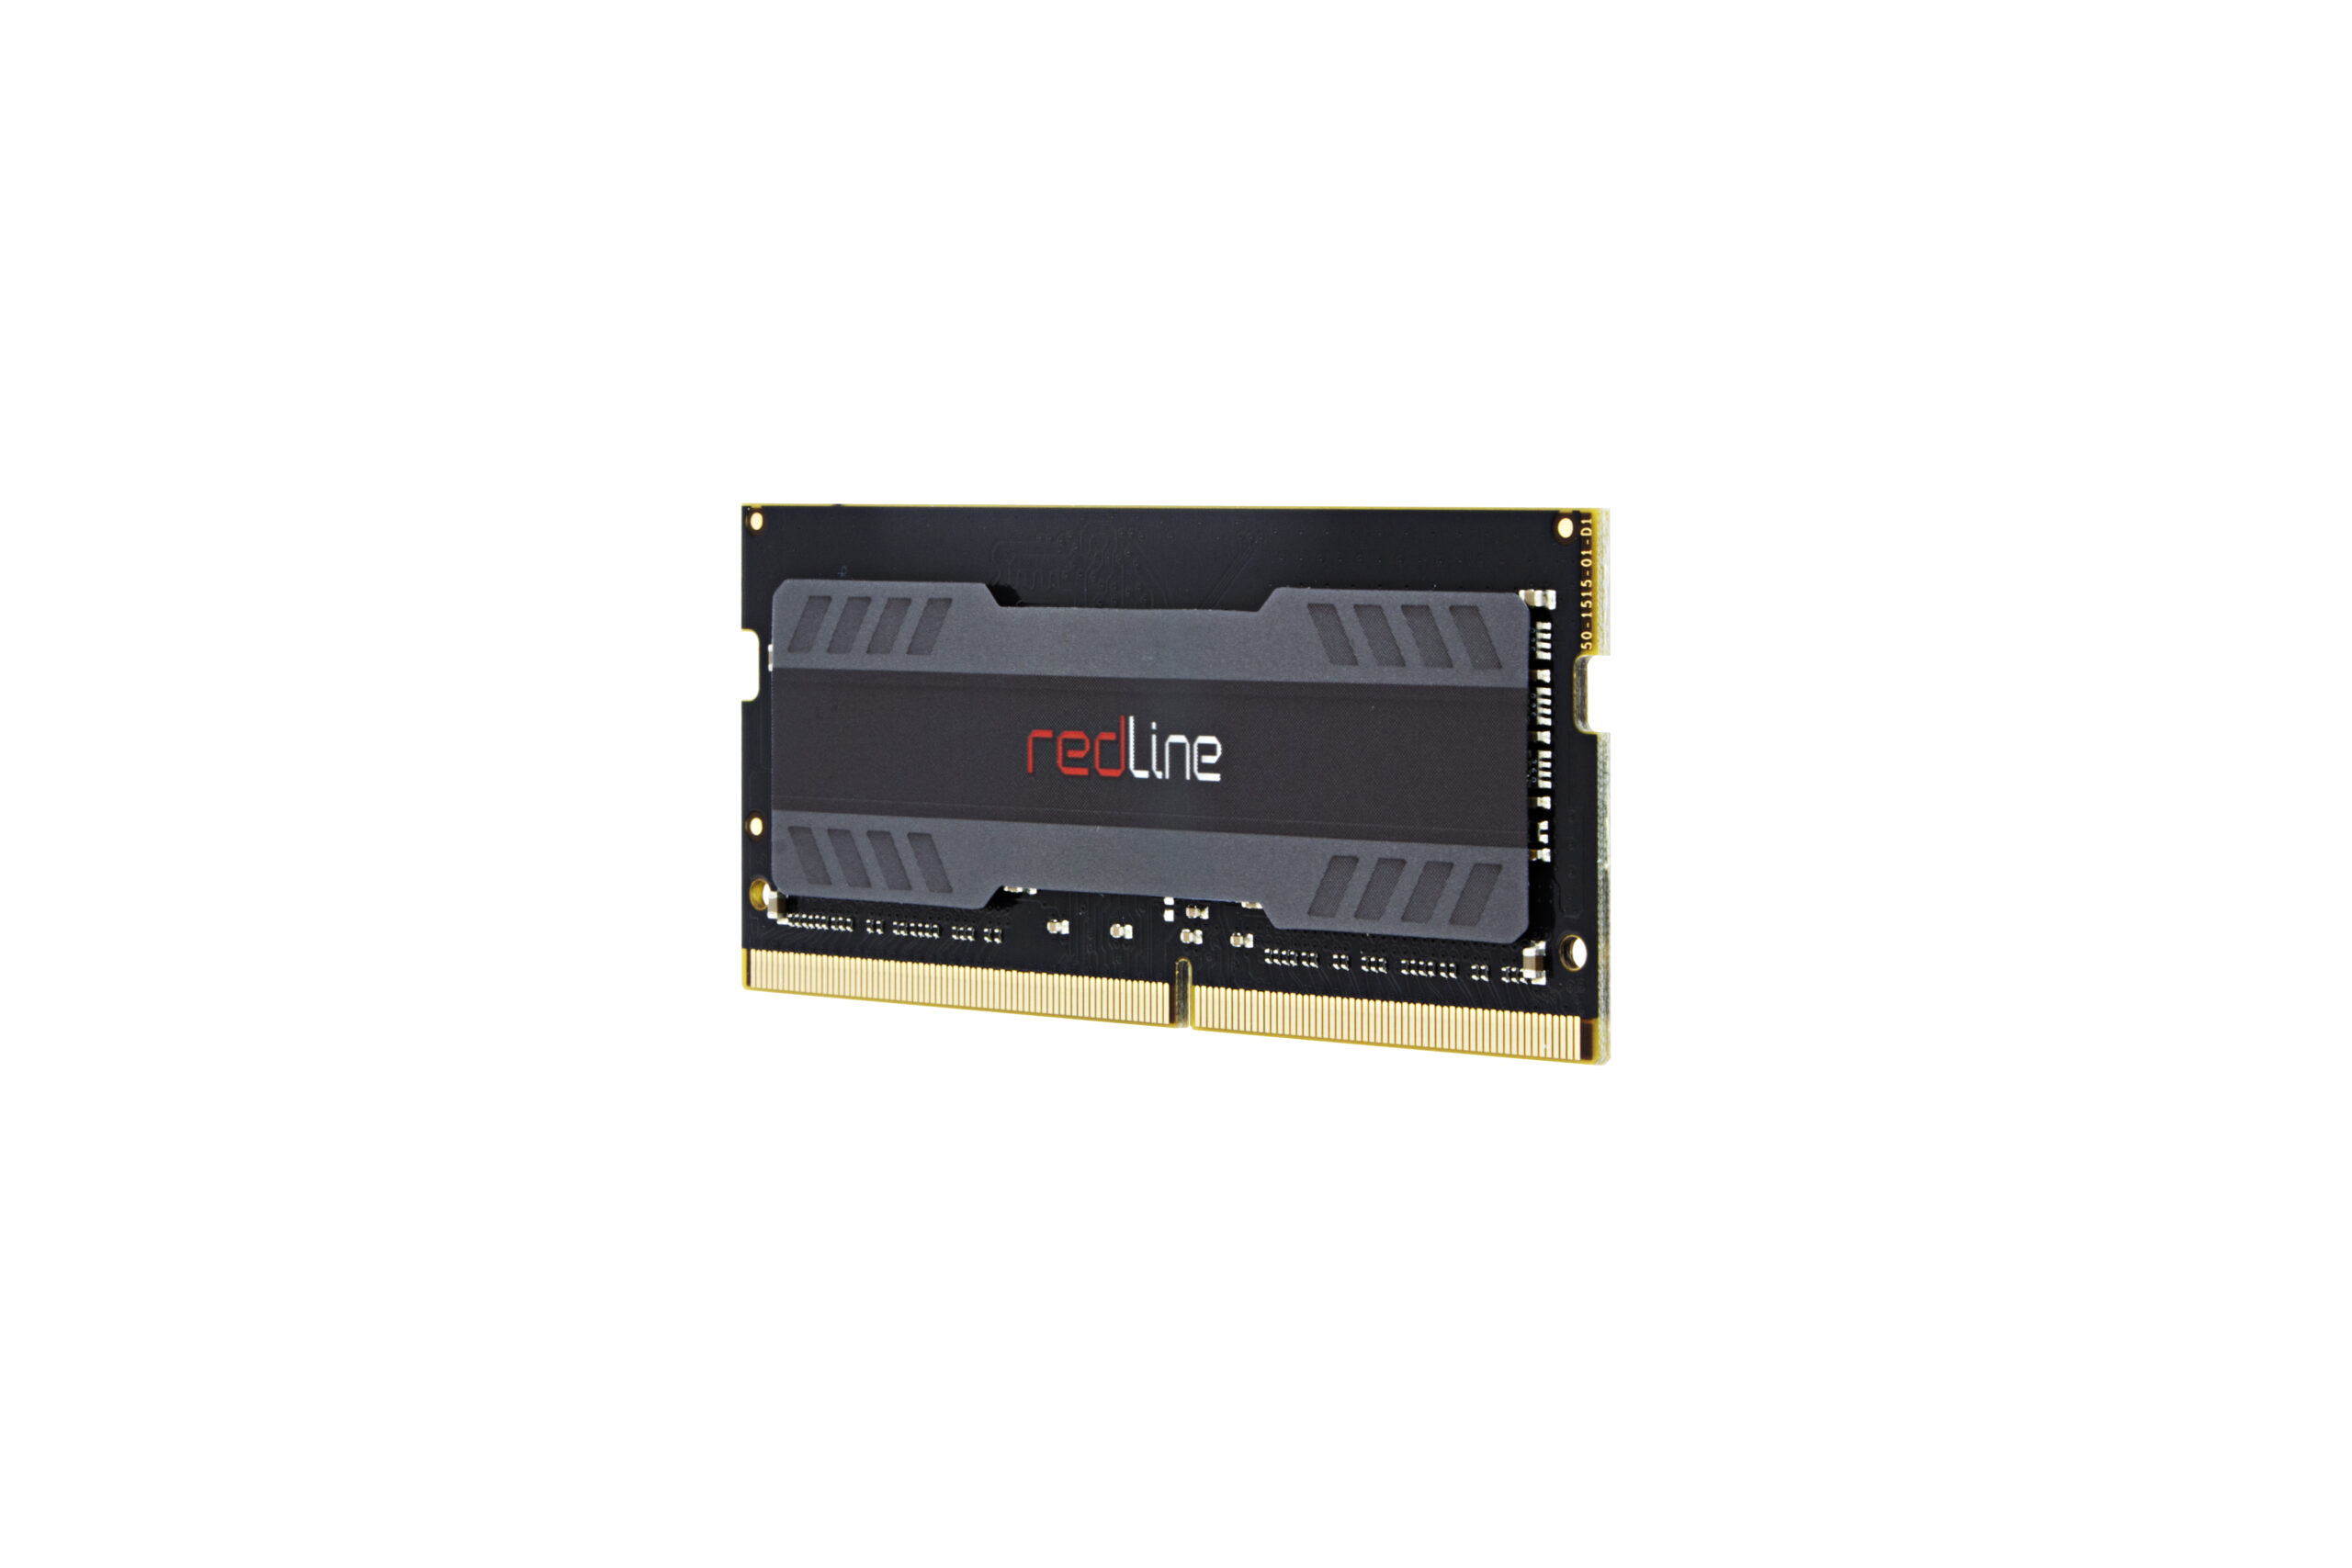
Redline® - 16GB (2x8GB) DDR4-2666 SODIMM PC4-2666 19-19-19-43 | MRA4S266KKKF8GX2
| Enhanced Timings This product has been programmed for timings that offer improved performance when properly installed. |
|
|---|---|
| Enhanced Frequency This product has been programmed to operate at the ideal frequency for your system when properly installed. |
|
| Hand-Tested This product has been tested by hand for quality assurance. |
|
| Extreme Performance Unparalleled speeds to save time and money while transferring content rich data. |
|
| Lifetime Warranty Quality guaranteed – we offer a lifetime warranty on this product and genuine, unmatched service and support. |
General |
|
|---|---|
| Brand | Mushkin Enhanced |
| Series | Redline |
| Model | MRA4S266KKKF8GX2 |
| Type | DDR4 SODIMM |
| Voltage | 1.2V |
| Speed Spec | PC4-2666 |
| Frecuency | 2666 |
Capacity |
|
| Kit Type | Dual kit |
| Module Size | 16GB (2x8GB) |
Timings |
|
| tCL | 19 |
| tRCD | 19 |
| tRP | 19 |
| tRAS | 43 |
Memory Module Installation
The installation of memory modules is a quick and easy process. No matter the type of your memory or computer, this installation guide will help you get your new Mushkin Enhanced memory up and running.
Step 1: Shut down your computer. Locate the memory expansion slots on your motherboard.
Step 2: Touch your computer’s power supply to ground yourself. Make sure the power supply is still connected to the wall outlet.
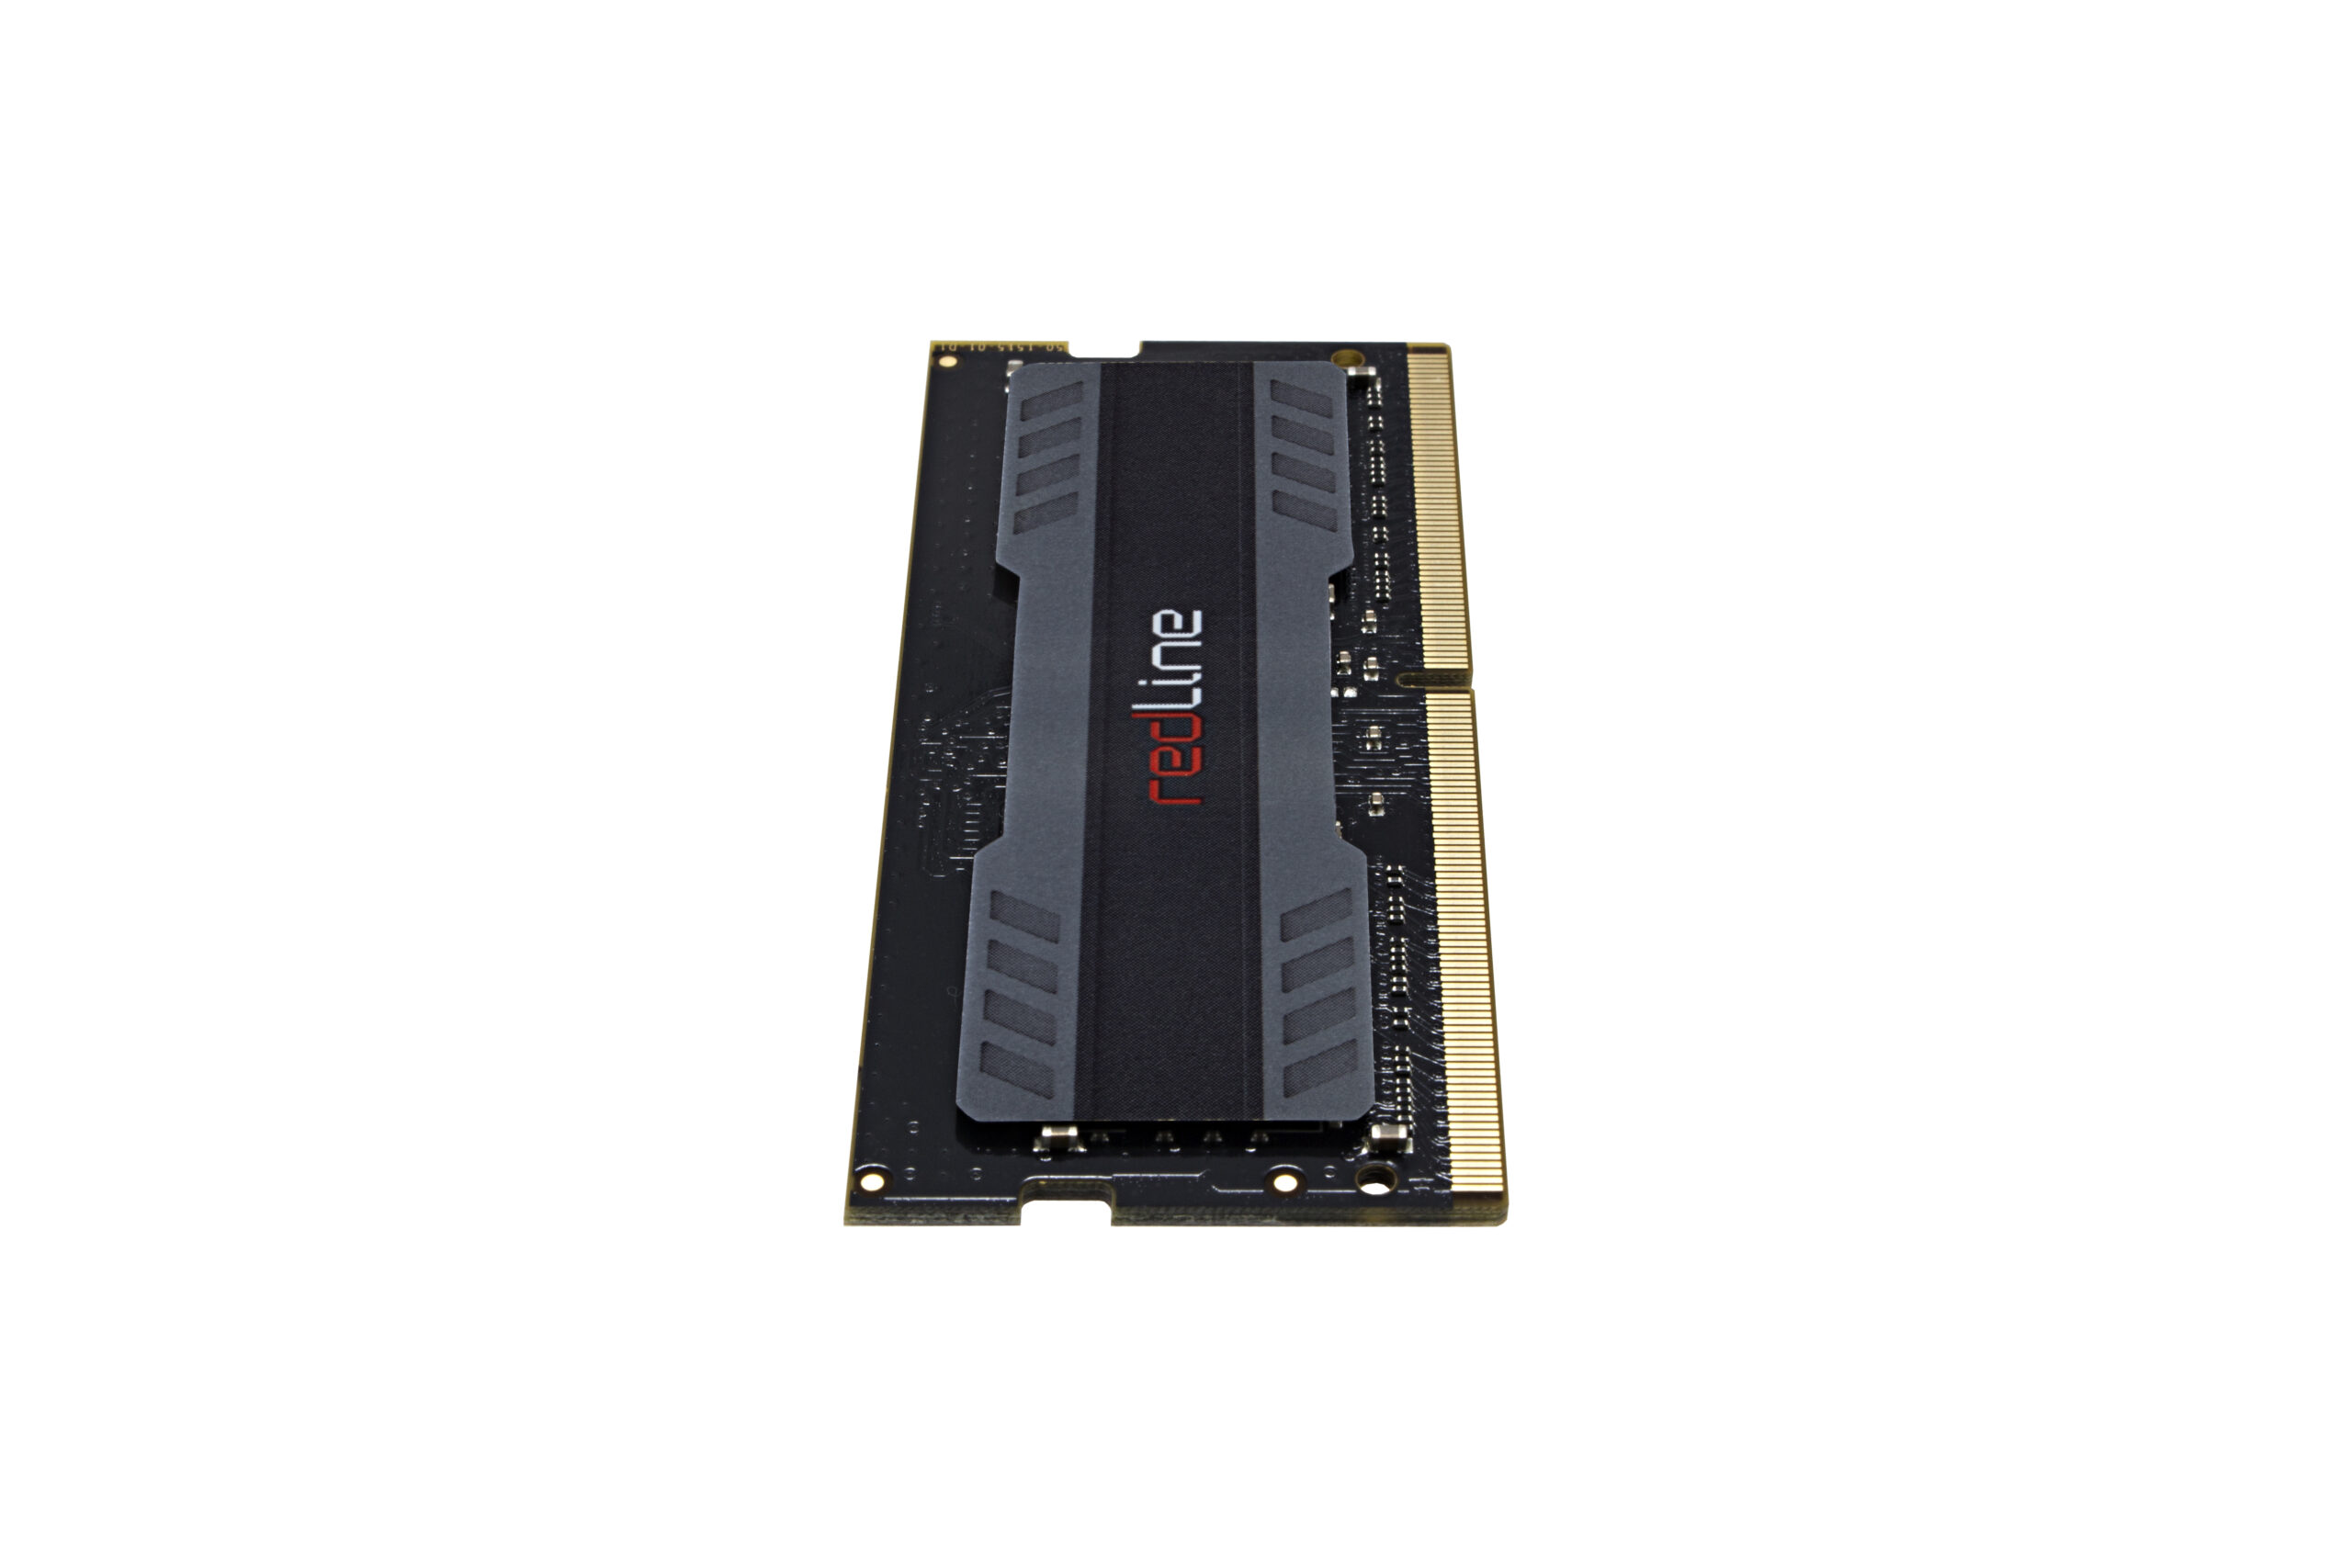
Step 3: Push open the retainer clips (as illustrated in Image 3).
Step 4: Memory modules fit one way only; align the notch in the memory module’s gold pins with the notch in the memory installation slot. Push firmly on the top of the module until it is properly seated. The retainer clips will ease into the notches at either horizontal edge of the modules.
Step 5: Installation complete! Your computer is now Mushkin Enhanced.

Reviews
There are no reviews yet.